
| Home | About OpenOffice.org | Tutorials | FAQs | Sitemap | Help |

| << Working with Slides | Adding Content | Working with Text >> |
Bulleted lists
If the text boxes on design templates already include bulleted lists, click the placeholder on the slide to begin adding text and press the ENTER key to return to the next line and add a new bulleted item.

If you are not creating a bulleted list from an existing placeholder on a design template, or if you would like to add an additional bulleted list, follow these steps to create a new list:
- In drawing view, create a text box by selecting the text option on the main toolbar.
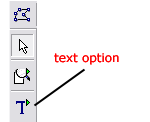
- Draw the text box on the slide by holding down the left mouse button while dragging the mouse across the page until it is at the width you wanted it. You may resize the box by putting your cursor over one of the green squares and dragging it to the desired size.
- From the menu toolbar, choose Format - Numbering/Bullets.

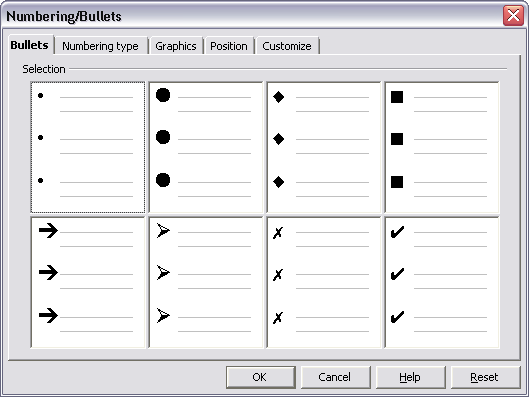
- You have 2 bullet options: (1) to select from a list of character bullets and customize it OR (2) to select from a list of graphical bullets.
-
If you want a character bullet, select one of the eight bullet types shown in the Bullets tab.
-
If you would like to customize the bullet, click on the Customize tab and specify the desired color or relative size.

-
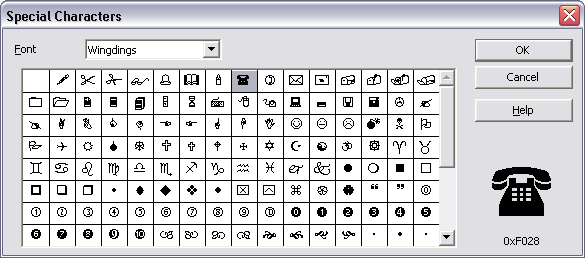
If you want to change the symbol of the bullet, click on the character button in the Customize tab and select any character from the list of fonts on the computer. Choose a font like Wingdings from the drop down font menu. Click on the characters in the grid to see a larger view. Click OK when you have chosen your bullet.
-
To use a graphic bullet instead of a character bullet, go to the Graphics tab and selecting the bullet you want. You may only customize it's relative size.

- Click OK to finish.
Numbered lists
Follow these steps to create a numbered list:
- Create a text box
- With the text box selected, choose Format - Numbering/Bullets from the menu bar.
- Click on the Numbering type tab and select one of the 8 numbering types.
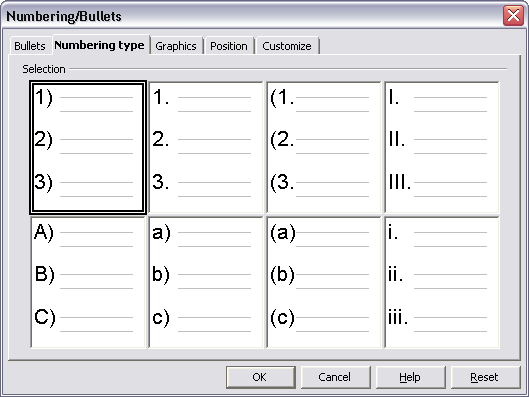
- You may customize it by specifying the desired character(s) before or after the numbering type, color, relative size, and start value.

- Click OK to finish.
If the text boxes on design templates include bulleted lists, you may modify those bullets by following the steps above, without creating a new text box.
Inserting graphics
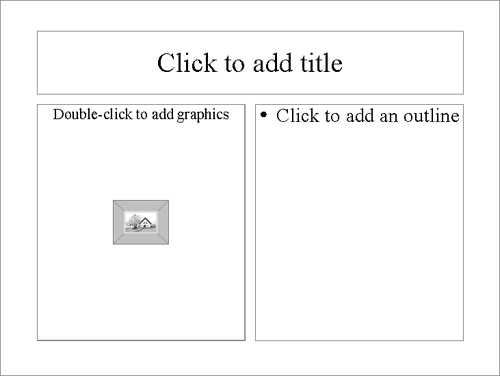
If you are using a layout that already has a place holder for a picture, simply double click the textbox and a dialog box will prompt you browse for your stored graphic. Once you find it, click Open and the graphic will be inserted.
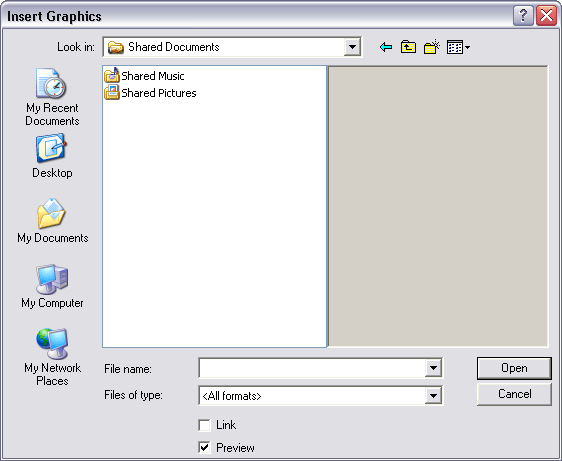
If you are not inserting a graphics from an existing placeholder or would like to insert additional pictures, choose Insert - Graphics from the menu bar.
Resizing and moving a text box/picture
Select a text box hovering the mouse over the text until it turns into an "I." A border with nine green handles will appear around the text box. The four handles on the corners will resize the length and the width of the box at once while the handles on the sides will resize only in one direction. Click one of the handles and drag it with the mouse. Release the mouse button when it is the size you want it to be.

Move the text box by selecting the text box and hovering over the border until the cursor turns into a cross with 4 arrows on each end. Then click and drag with the mouse to the desired spot.
Deleting a text box/picture
To delete a text box from a template, simply click the border of the text box and press the DELETE key on the keyboard.
Adding notes
From Notes View, notes can be added to the slide. These notes will not appear in your slide show, but may be printed along with your slides.

| << Working with Slides | Adding Content | Working with Text >> |
Home | About OpenOffice.org | Tutorials | FAQs | Sitemap | Help